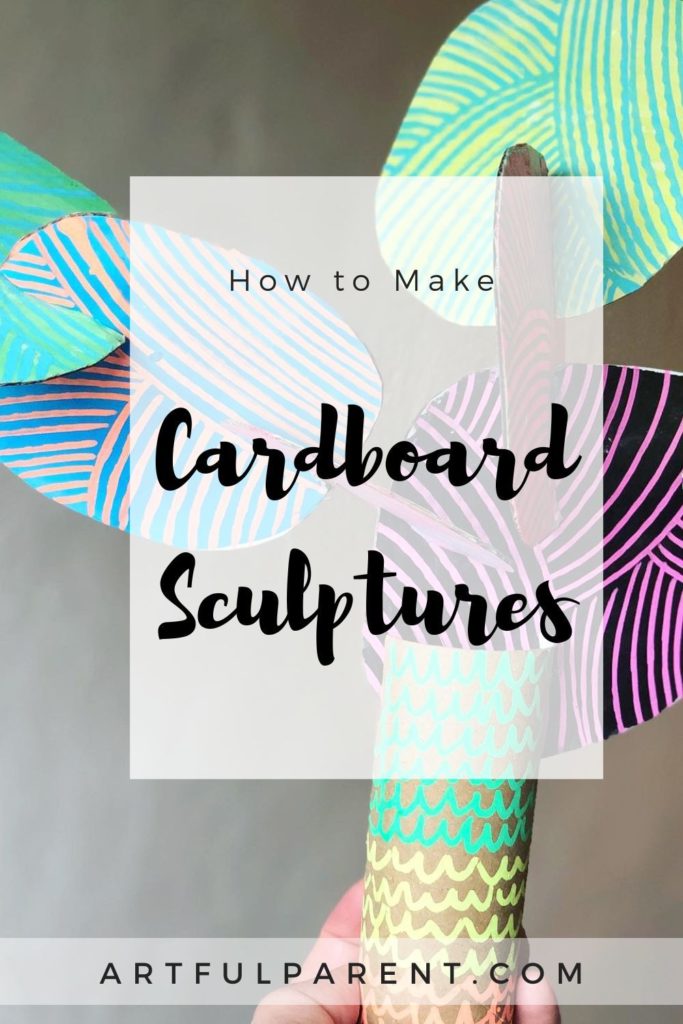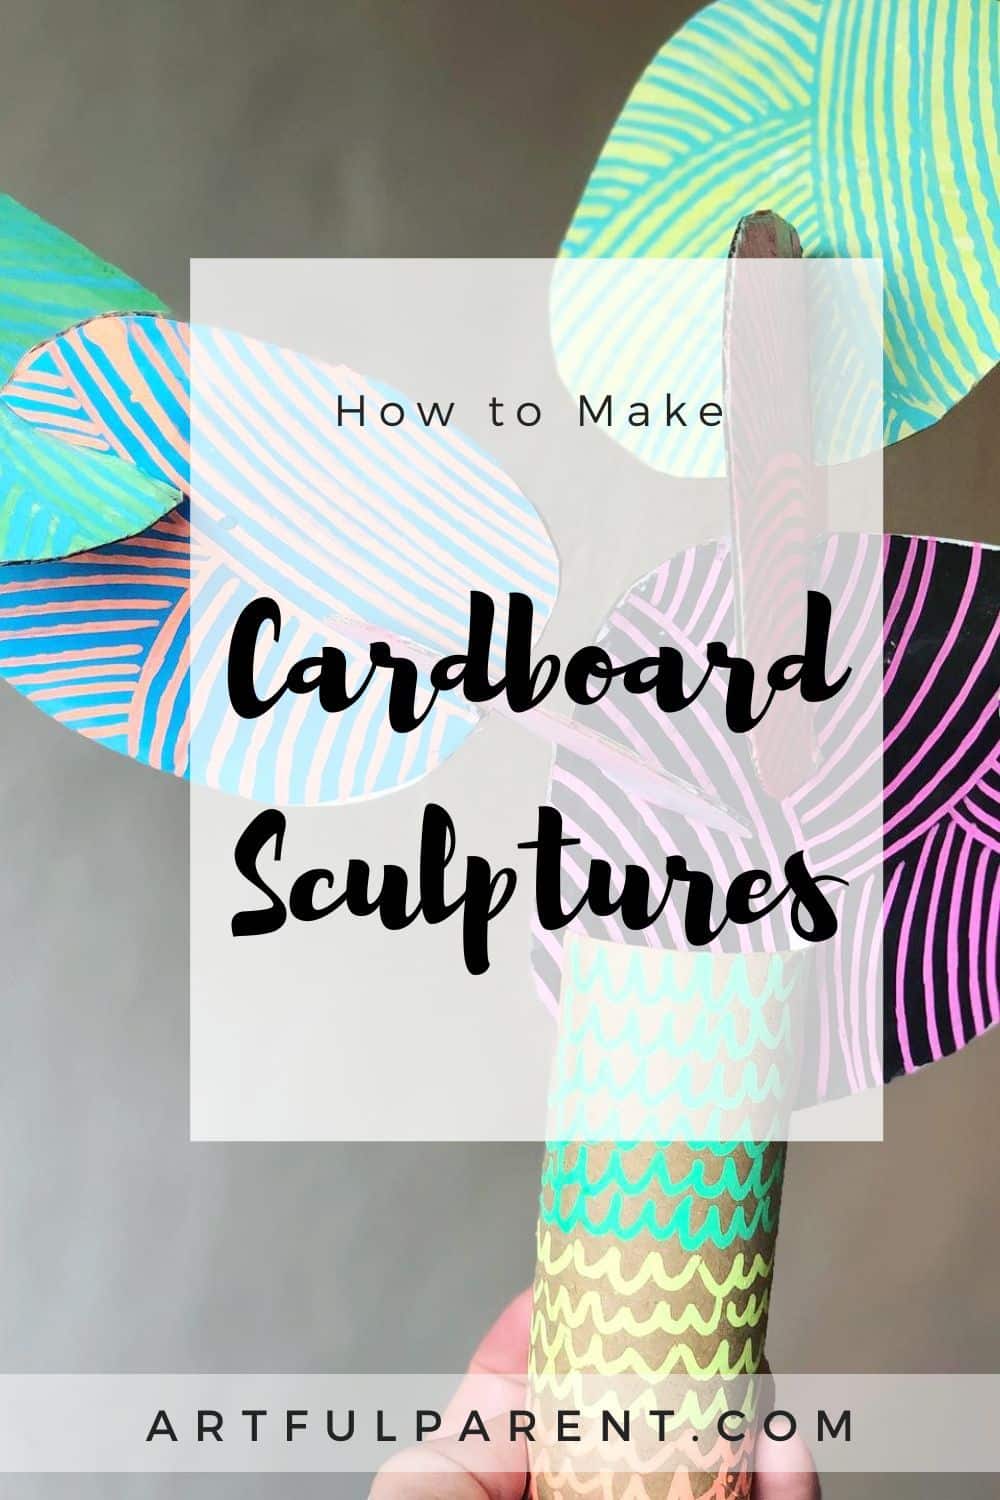
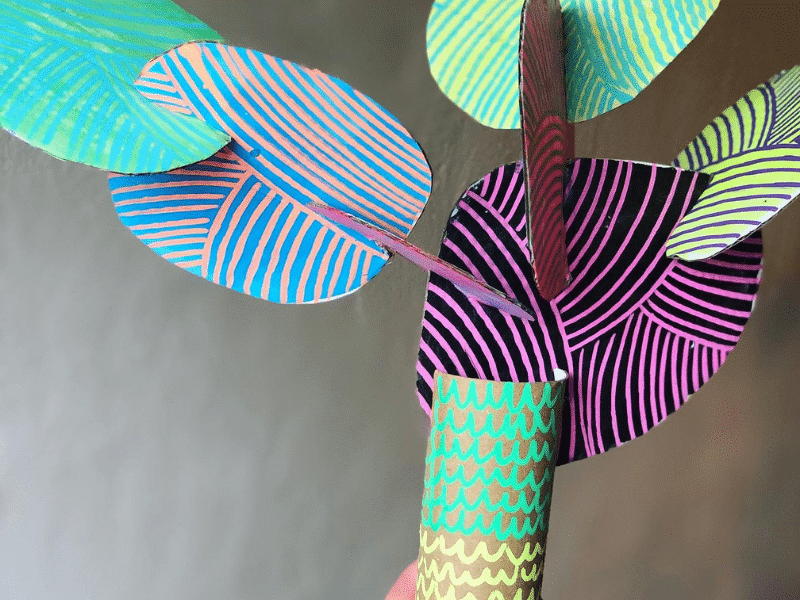


Danielle Falk of Little Ginger Studio shows how to create fun and colorful cardboard sculptures that look like trees using cardboard tubes!
These cheerful cardboard sculptures look like trees and are super easy and fun to make. I think they are a perfect parent-child project.
I sat down with my 6 year old and happily created a couple of trees to decorate our window sill. While I cut shapes out, my daughter painted away. We both enjoyed adding patterns over top. We discussed which colors would look good next to each other (hint: opposite colors pop!).
The Artful Age
A weekly letter on aging well, family across generations, and the creative life after the kids leave home.
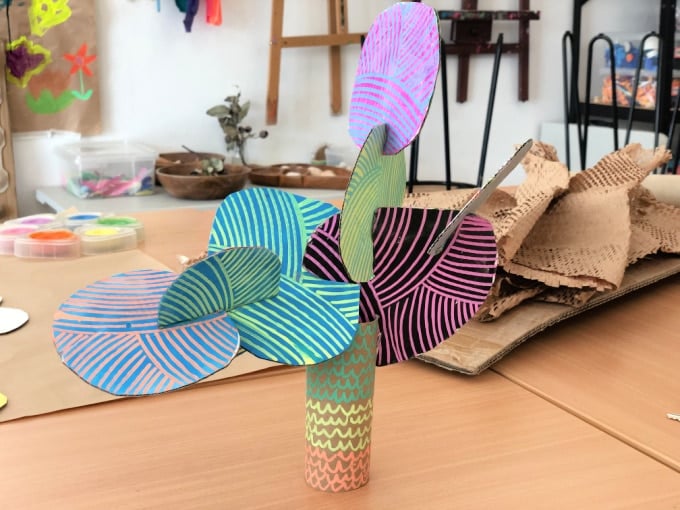
These sculptures look pretty, but they can also be used for imaginative play. Try adding them to a toy streetscape with other toys, cars and little dolls. I can totally imagine adding little cardboard houses and gardens too!
This project primarily uses basic materials, but I recommend buying paint or chalk markers. These really make a difference with adding patterns. Normal markers won’t have the same effect.
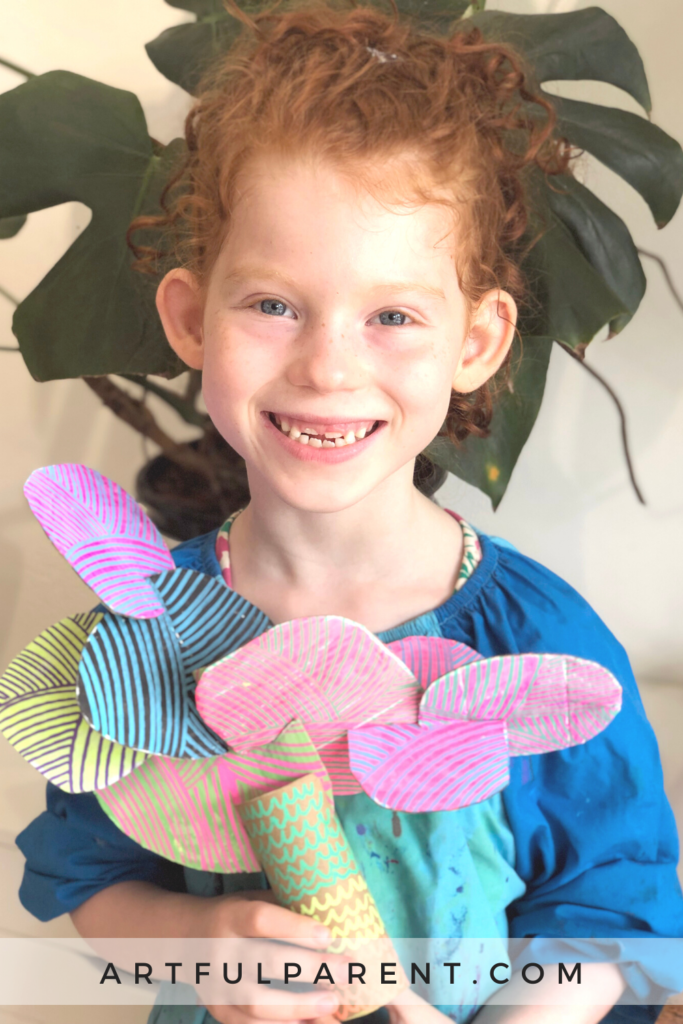
Cardboard Tree Sculptures
MATERIALS

- thin, but strong cardboard (We think IKEA & LEGO boxes are the best!)
- cardboard craft tubes (or save your toilet paper tubes)
- large scissors
- cake watercolors or tempera paints or even acrylics (This is an affiliate link, so we may earn a commission if you buy. It costs you nothing extra.)
- watercolor brushes
- chalk markers or paint markers (or both!)
- jar of water
INSTRUCTIONS
- Cut the tree shapes
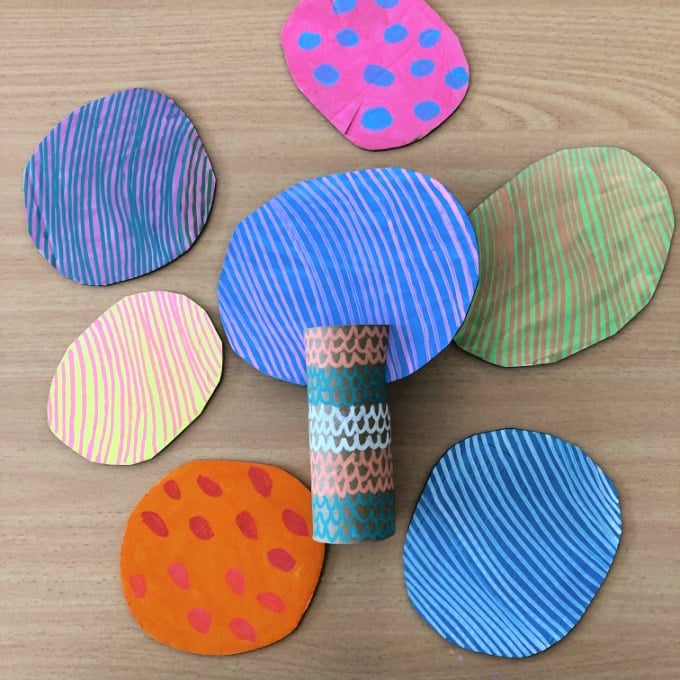
After sourcing your cardboard, cut out some circles and ovals for your tree. Be sure to create a range of sizes and shapes but none larger than an adult’s palm. I did this freehand, but you can choose to sketch your shapes before cutting, if you prefer.
- Paint the shapes
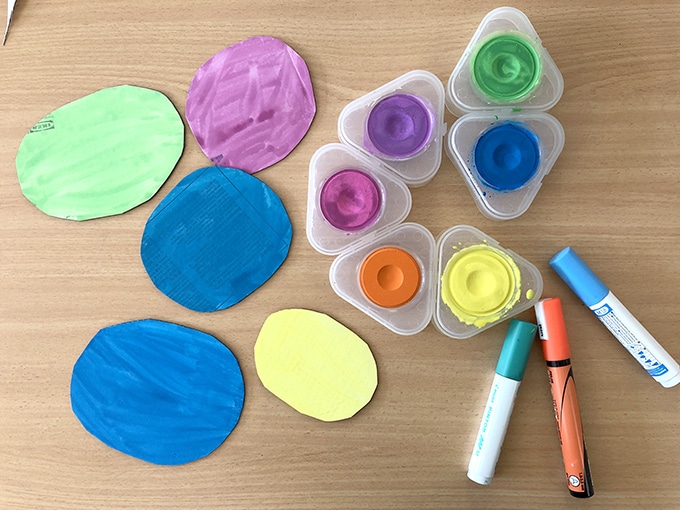
Paint each side of the cut cardboard shapes with watercolors (or tempera or acrylic). Be sure to completely cover the cardboard. We used different colors on each side of the shapes as the effect is really nice when viewing your sculpture from different angles.
- Add patterns all over
When the paint is completely dry, start to draw patterns all over each side using chalk markers or paint markers. Choose a color that stands out against the background.
As mentioned before, opposite (also known as complementary) colors work well. My favorite pattern to use is thin, close stripes but polka dots, little crosses or zig zags will work great too.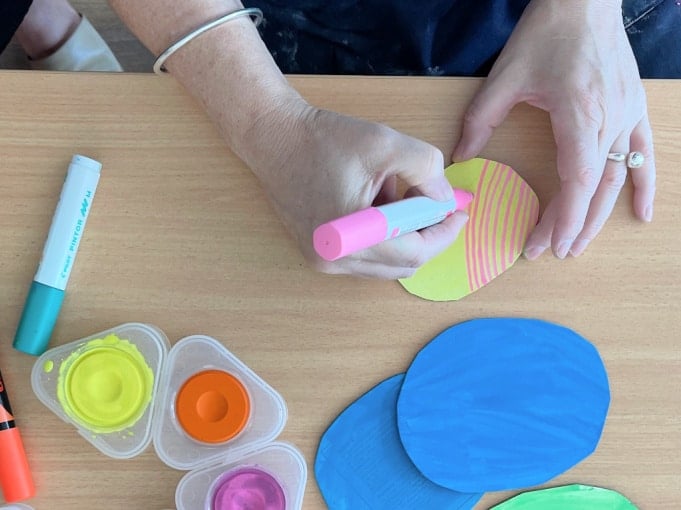
Tip: Draw your pattern tightly together with not too much space. This ensures more of a contrast of colors. - Decorate your tree trunk
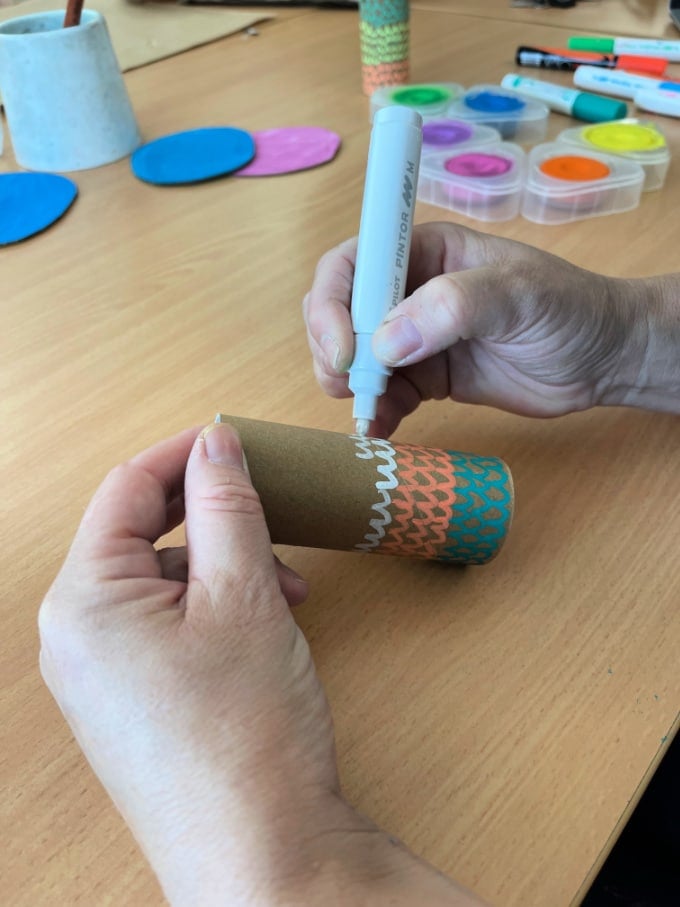
Draw patterns all over the cardboard craft tube tree trunk using chalk or paint markers. We used scalloped rainbow lines and worked our way up the tube.
- Begin to build your tree!
Carefully cut two parallel slots into the top edge of your cardboard tube (about an inch long each).
Tip: It is very important that they are exactly parallel (opposite each other) otherwise your first shape won’t fit snugly.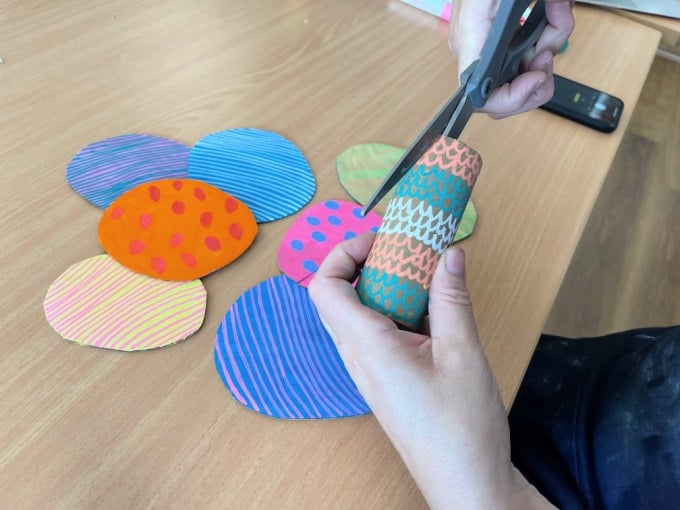
Next, cut two slots the same distance apart as your tube slots along one side of your biggest shape (these will fit into your tube). Carefully slide shape and tube together to make a firm fit.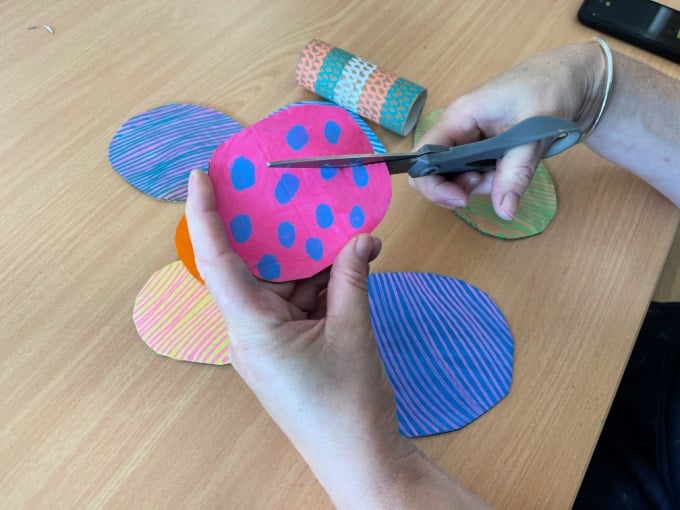
- Continue to cut slots and stack sculpture!
Cut slots into your shapes and add them onto the sculpture. Work to build a balanced tree that doesn’t topple over! This takes a bit of thought, trial and error, and adjustments.
Pro tip: Be sure to always attach the shapes slot-to-slot for firm joins.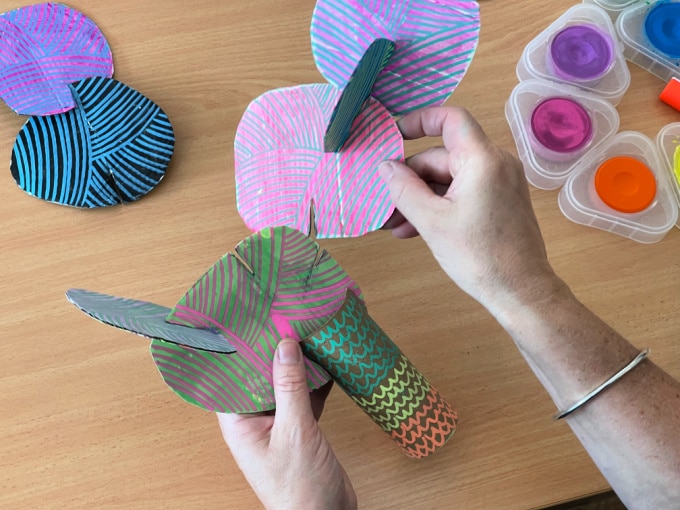
- Build a forest of trees!
Continue to make more tree sculptures with different colors and patterns. Create a whole forest of trees!
I hope you give this fun cardboard sculpture project a try with your kids!
More Sculptures for Kids
- How to Make a 3D Rainbow Cardboard Sculpture
- How to Make Painted Wood Blocks & Sculptures
- Easy Cranberry and Toothpick Sculptures Kids Can Make
- How to Make Cardboard Building Discs for Recycled Cardboard Sculptures
Pin It For Later