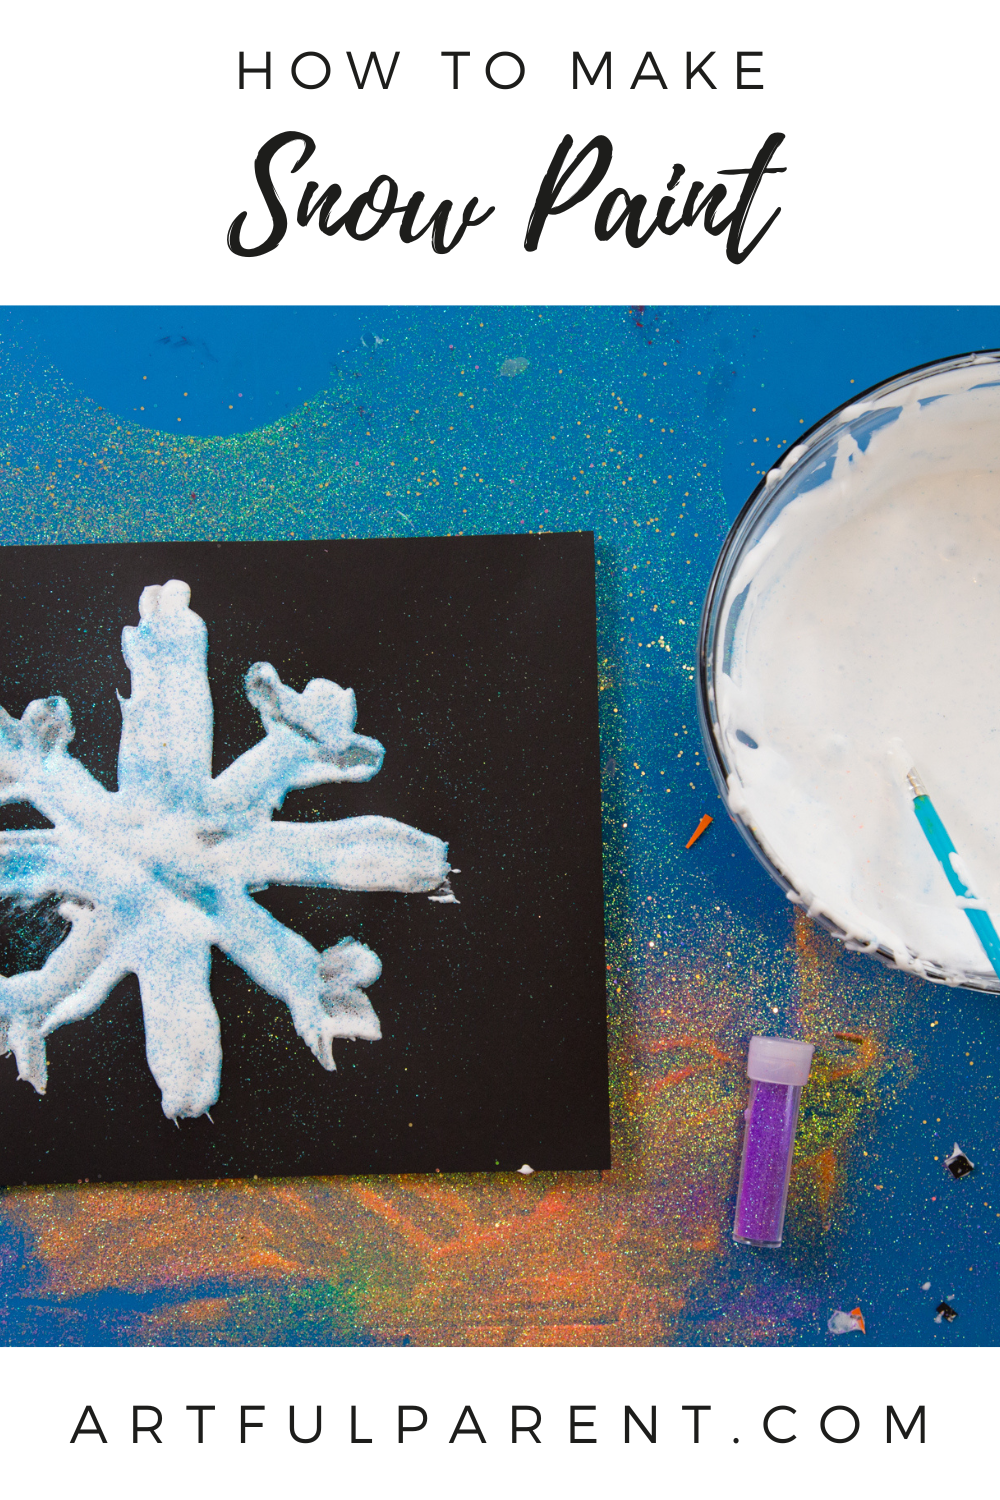
Make your own homemade snow paint that stays puffy and snowy even after it’s dry. Use to paint all kinds of wintry scenes!
Make winter art extra fun with snow paint! Using just shaving cream and glue, kids can create fluffy, snowy pictures.
This is one of our favorite puffy paint recipes. It’s super easy and feels so soft to touch. This simple DIY is perfect for all ages and also makes for a really fun sensory art activity.
The Artful Age
A weekly letter on aging well, family across generations, and the creative life after the kids leave home.
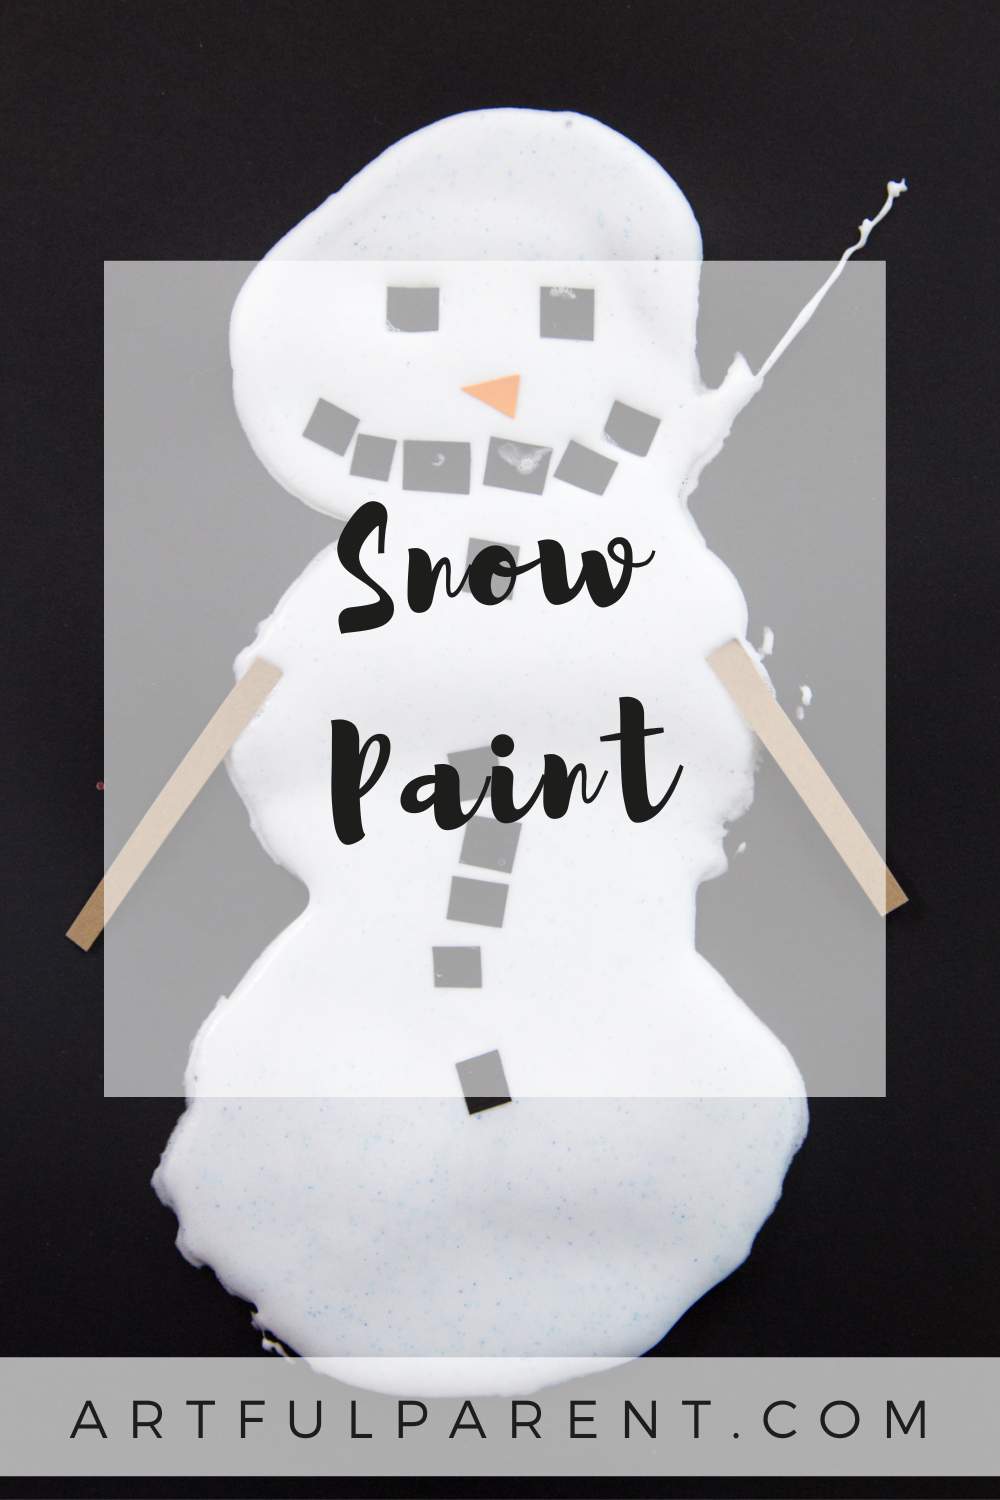
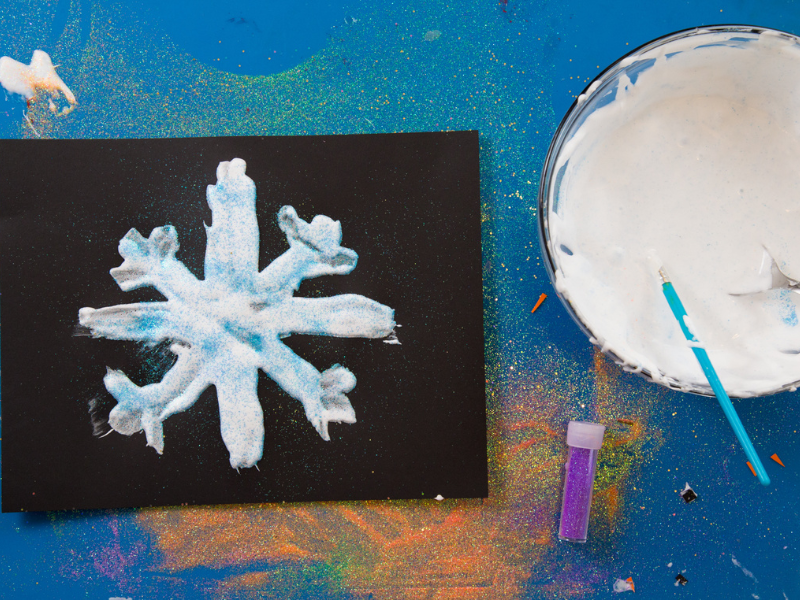
You can use it to make snowy landscapes, snowmen, or snowflakes. Or you can add paint or food coloring to the paint and use it as a regular puffy paint.
Here’s a video showing how to make and use snow paint. And keep scrolling for step-by-step instructions!
How to Make Snow Paint for Kids

MATERIALS
- 1 cup white glue (This is an affiliate link, so we may earn a commission if you buy. It costs you nothing extra.)
- 1 cup unscented shaving cream (the foam kind)
- Glitter (optional)
- Colored cardstock
- Scissors
INSTRUCTIONS
- Mix your paint
To make a large batch, mix 1 cup white glue with 1 cup shaving cream. Stir in some glitter, if you’d like.
- Paint!
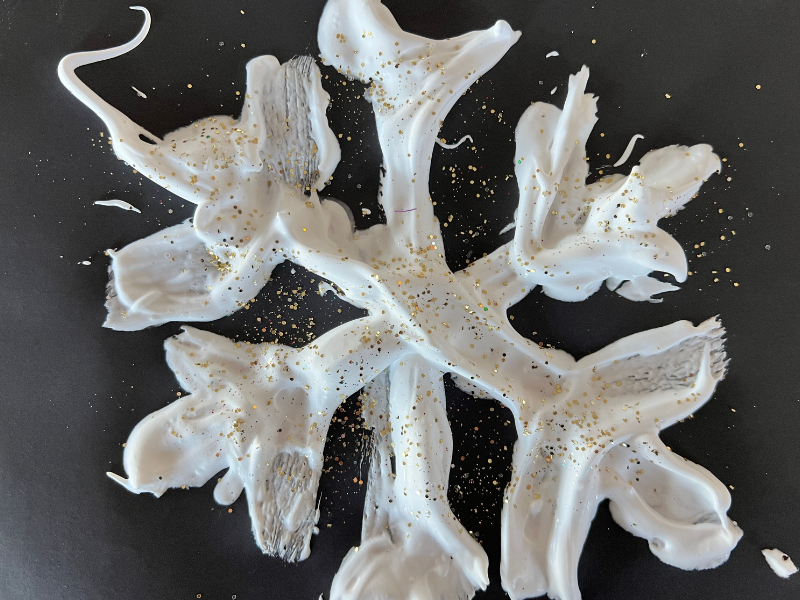
Use your snow paint to paint snowy items onto colored card stock. Try snowmen, polar bears, igloos, snowflakes, snowy scenes, & more! Sprinkle the wet snow paint with more glitter if you like.
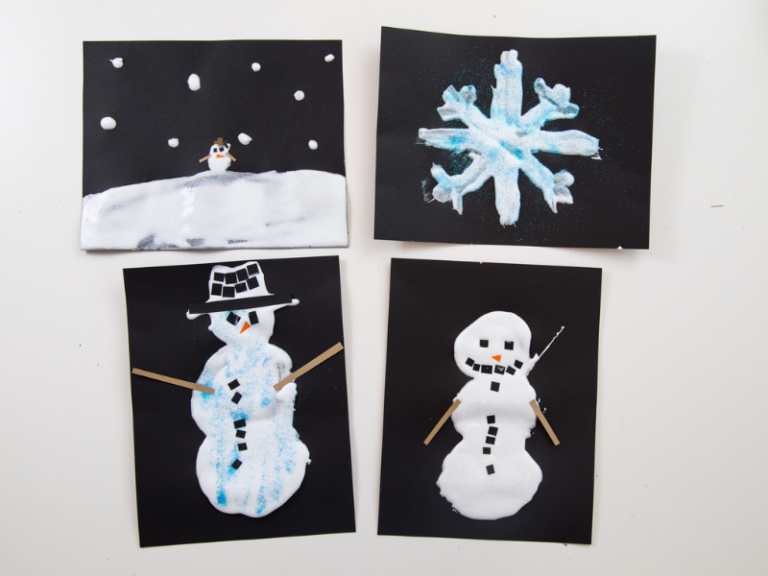
Cut small pieces of colored paper to press to the snow paint for details like the face and buttons of a snowman.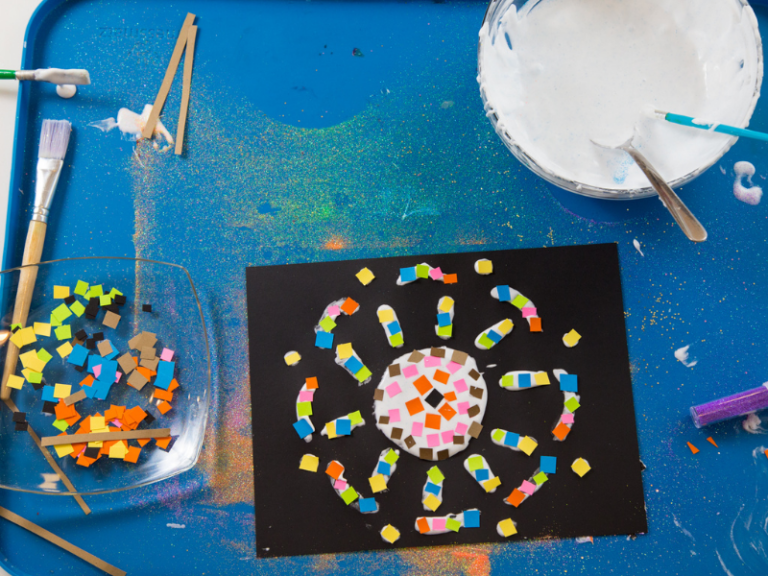
- Let dry
Let your paintings dry overnight. Once your is dry, it will be a soft, textured masterpiece that looks just like freshly fallen snow.
We love making this puffy paint! Grab your supplies and let the winter wonderland creativity begin!
More Puffy Paint for Kids
- 5 Puffy Paint Ideas for Kids
- DIY Puffy Paint for Kids
- Microwave Puffy Paint
- How to Make Salt Puffy Paint
- Foam Painting for Kids
Pin It for Later